this is a page for
Browsing Tag: Hair care

For NYFW I had the amazing opportunity to collab with Tease HTX hair! This local company offers remy clip-ins, perfect for enhancing your look in literally seconds!
This slideshow requires JavaScript.
In the pictures above I have demonstrated what a difference the extensions make! Here I have set this post up as in a quick Q&A style including my thoughts on the extensions, how I would style/wear them, and lots of images so you can see just how natural this hair really looks! Enjoy, and I hope you find this helpful! 🙂
Q&A
So first things first; what length, and color did I get?
I was color matched for #18 Chai Tea Latte, and am wearing the 20″ length clip-ins.
How much do the extensions cost?
There are two length options available so the prices range between $129 and $149 for the classic shades, and $179 for the ombre hair.
How do you style them?
Since these extensions are real hair, you are curl, or straighten the hair as you wish! I like to curl and brush the extensions out before I install them. – This is my preference and I have noticed it gives me the most natural finish. I also style my hair as usual i.e. curl or straighten before installing the extensions. This avoids pulling, extra tension and I feel cuts down on the time it takes to get ready. Once my hair is ready, and the extensions are ready I install them and blend with my fingers.

Do this clips hurt?
Each weft has a lace piece attached to the hair to avoid irritation and provide stability, and each sewn-in clip has teeth as well as a silicone strip to provide a secure grip. The reason I call this out is because these features keep the extensions from moving around and adding tension to the scalp. The clips stay secure creating less pulling and pinching. I will say there is a slight discomfort the first time wearing all 10 wefts, but only because I personally was not used to the added weight. After that I didn’t notice any discomfort.
Are they difficult to install?
No, not at all! The wonderful thing about clip-ins is it is super simple to install them yourself! I have found it best to start at the base of my neck and work my way up. Also when taking off the extensions I start at the top of my head and work my way down. You want to leave the clips open after removal so that they are easy to install for your next use. This also helps to preserve the clips as you are not opening and closing them in excess.

Pros:
My favorite pro is that the hair is removable. I personally have very thick hair. It takes me a long time to wash, blow dry and style my hair even when at the length it currently is! When my hair was naturally long it took me forever to complete these tasks so my hair ended up in a bun a lot. Since this hair is removable I have the ability to take it off when I get home, it is ready to go all of the time as it does not have to be washed and re-styled upon every use, and you have the option of such versatility! Also you instantly can have long hair! No need to wait years to grow it out! Also, if you bleach your hair, as I do, it is super difficult to grow it out as your ends are always needing to be trimmed or are breaking off. Versus leaving those ratty ends attached to keep from trimming that precious length off, extensions give you the flexibility to keep your hair healthy and trimmed while looking long and luxurious!
Cons:
The con is the same as the pro actually. Since the hair is removable you have to take it off and make adjustments to it often. And what I mean by often is daily. So lets say you just install it for an event, chances are you will not need to make an adjustment, but if you were to wear it for an entire day, yes, at some point you many need to fix weft of two. And that is seriously the only “con” I have. There really isn’t anything negative I can say! 🙂

Overall thoughts
I absolutely LOVE these extensions and would totally wear them every day if I could! They create an instant change to my look and at such an affordable price! Definitely check out Tease HTX if you are thinking about changing your look! Its such a simple way to give yourself a luxe touch without the hefty salon price tag.
So I really want to start off this post with some confessions. Over the past few years I have not taken very good care of my hair. With color, bleach, stripping of color, color, bleach, and repeat. My endless desire to change my hair has really brought damage to it over the years. This year I have really focused on ways to pamper my hair and give it some much needed TLC, so when David Douglas Beauty reached out, I of course welcomed the opportunity to try out their product line!
David Douglas Beauty is a professional hair care company founded in 2002, offering products made with high quality ingredients and best of all, never tests on animals. So lets get started with my review!

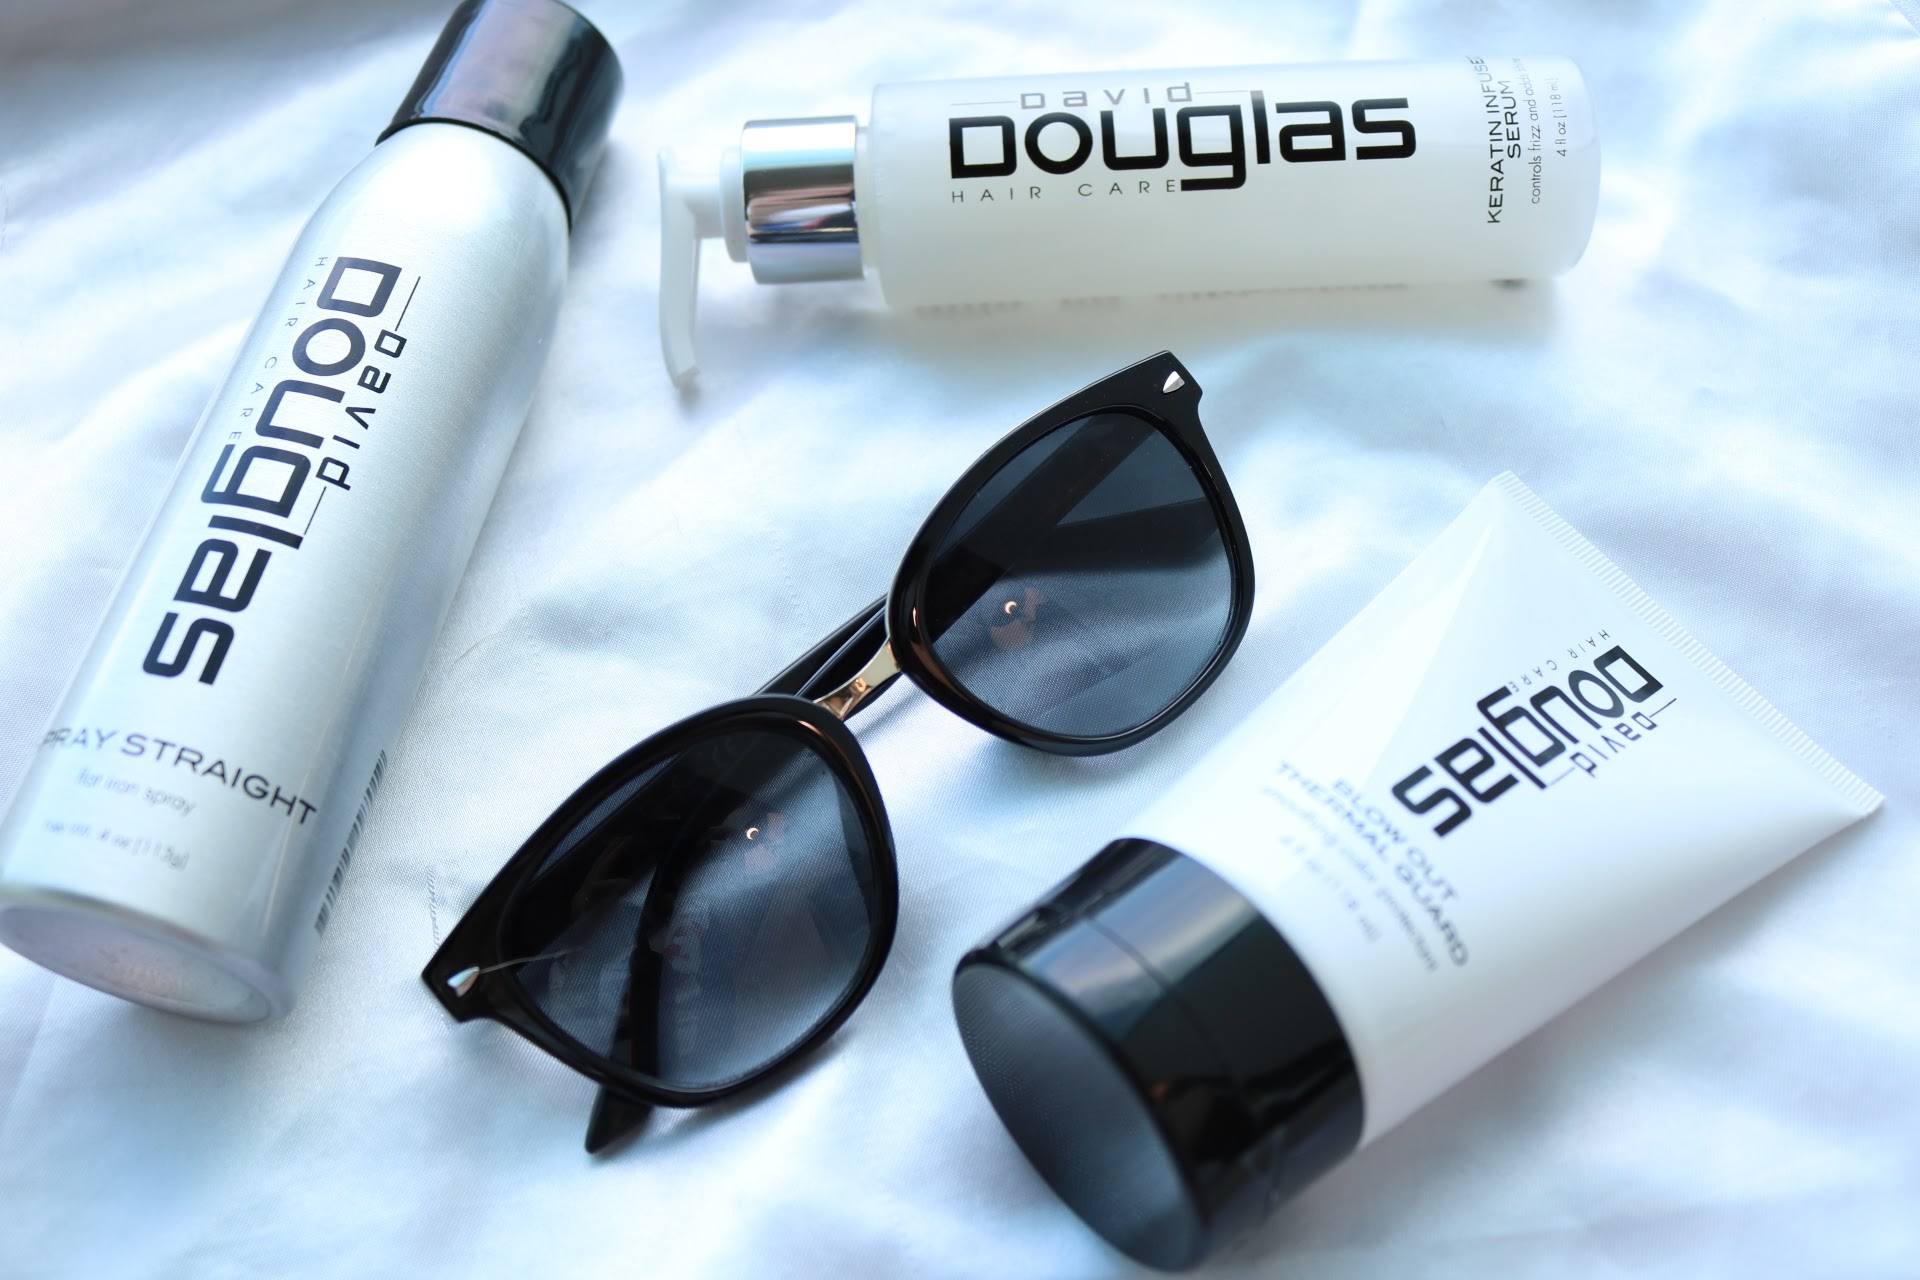
The products I have tested on my hair include:
- Violet Toning Shampoo
- Violet Toning Sealer
- Keratin Infused Shampoo
- Keratin Infused Conditioner
- Spray Straight
- Keratin Infused Serum
Packaging website and ordering
The packaging is sleek and minimalist, perfect in my opinion for hair products, that way the focus is on what is inside! The website is beautiful, and is neatly categorized by Product Type, Hair Treatment, and Hair Concerns. This makes it super easy to find exactly what you are looking for. As for shipment, my order came quickly and everything arrived safely. Each item was securely sealed with no leaks or damages.

Violet Products
The violet shampoo is a deep shade of purple and has similar texture to other violet shampoos I have tried. The benefits of this particular brand are the quality of ingredients and, for me the fact the I don’t have to sacrifice feel for color. Normally when I use color toning shampoos my hair is left feeling brittle and dry on the ends. That is simply not the case with this violet shampoo. My hair felt clean and workable. There is no heavy leftover residue, just soft clean hair that looks brighter and a cooler shade of blonde even after one use!
For the sealer, the shade is a pastel purple and has what appear to be sparkles in the formula. You apply to towel dried hair, let it sit for a few minutes then rinse with cool water. I really like this product! It sort of feels like a conditioner but not as heavy and doesn’t leave hair weighed down. You have the option to leave it in longer based on the shade you are trying to achieve, which is really cool, and again, I like this product because it is not over drying of harsh. – best of all it does not stain my fingers!
Over the next few uses of the violet products, I have noticed my hair has felt softer as well as brighter. When you have bleached hair, it can often feel very dry especially if you wash it too often. Since using these two products I have noticed that I can extend the life of my hair between washes, as it does not produce as much oil at my scalp, so that I can go 2.5 days between washes versus everyday. This process is much healthier on hair so I am very pleased with this product and its payoff so far.
I have been using these two products as my regular routine to keep my hair shiny and its best shade of blonde.

My New Straight Hair Regimen
Now these products are the real game changer for me. I have always struggled to manage straight hair. With the Houston humidity, and the fact that I have curly/wavy hair, even with the best straightener I end up with a frizzy mess every time! With the Keratin infused products, and spray straight I am able to achieve my straightest hair that lasts!
Keratin Infused Shampoo and Conditioner
On days when I want to straighten my hair I have been using the keratin products. The formula is thick and provides a rich lather. My hair is left feeling clean and ready for styling.

Styling Products
Following the wash, I towel dry my hair and apply the Keratin Infused Serum then blow dry. The serum is by far my favorite smelling product, seriously it smells amazing! It is not too oily or sticky and doesn’t leave my hair greasy. To finish off, I apply the spray straight. This is seriously the miracle product when it comes to keeping my hair straight. It does slightly change the texture of my hair…meaning you can tell there is product in it, but it looks natural and reduces frizziness which keeps my hair tamed in the humidity. Basically I would like to know where this product has been all my life?! 😀

To Sum It Up
My overall thoughts on the David Douglas brand is the products are very high quality and perform as described. They definitely surpassed my expectations, and I would recommend them to anyone looking to improve their blonde, combat frizziness, or just want to enhance the appearance of their hair! David Douglas the go-to for it all!
Here is a great example of my results! The left image is what happens to my hair is the humidity, before I had David Douglas products, the right image is how my hair withstands the heat and humidity with David Douglas products!


I recently decided to try something new and have my hair colored red. After a consultation with my stylist I decided on a rose gold color melt to blonde and have loved the results! In case anyone was wondering, before I went red, my hair was had 2 inches of new growth and blonde balayage highlights.
I love to change the color of my hair pretty frequently. It’s fun, but can be quite damaging if done too often and incorrectly. Luckily I have a wonderful stylist who takes care of my hair to insure it does not loose its integrity. The reason why I thought it would be great to post my regimen for red color is because the dye fades extremely quickly. The regimen I follow helps to keep my locks red and vibrant as in between treatments as well as healthy. So let’s get started!

First my regimen consists of Joico Color Infuse Red Shampoo and Conditioner. The shampoo is a dark pigmented red, so to get it to your desired color for wash, it is best to add shampoo or a conditioner to lighten the color. I mix in a coconut shampoo until the the color changes to a mauve pink. I apply the shampoo to my roots and let it sit for a minute or two then pull it through the rest of my hair before rinsing.

Then twice a week I use the conditioner, which is a dark red shade with a thick consistency. I apply argan conditioner to lighten the shade of this as well before applying all over my hair.

After washing, I apply R&B Hair Moisturizer by Lush to damp hair starting at the roots then comb through and blow dry. After this step I’m ready for bed! I would also like to add that I sleep on a satin pillowcase as it is great for my hair and skin. In the morning I either straighten or curl my hair. The reason I wait to style is to reduce the amount of heat I apply to my hair at once.

Since my hair had to be bleached before it was able to achieve this brilliant red shade it can get dry, so it is best not to wash everyday. In between washes I like to use Batiste to keep my hair fresh and looking its best.
These are my tips for red hair. So far they have really worked well for me. If you have color treated red hair and have some tips and tricks for keeping it looking vibrant longer, please let me know! I love trying out new techniques and products for hair!
Until next time!

Error: API requests are being delayed for this account. New posts will not be retrieved.
There may be an issue with the Instagram access token that you are using. Your server might also be unable to connect to Instagram at this time.


