With so much time at home, I know you have been tempted by the scissors a few times to try a new look, trust me I have too! And because of this, I wanted to share my favorite $36 accessory to take the edge off of cutting that gorgeous hair of yours!

No Commitment Bangs?!
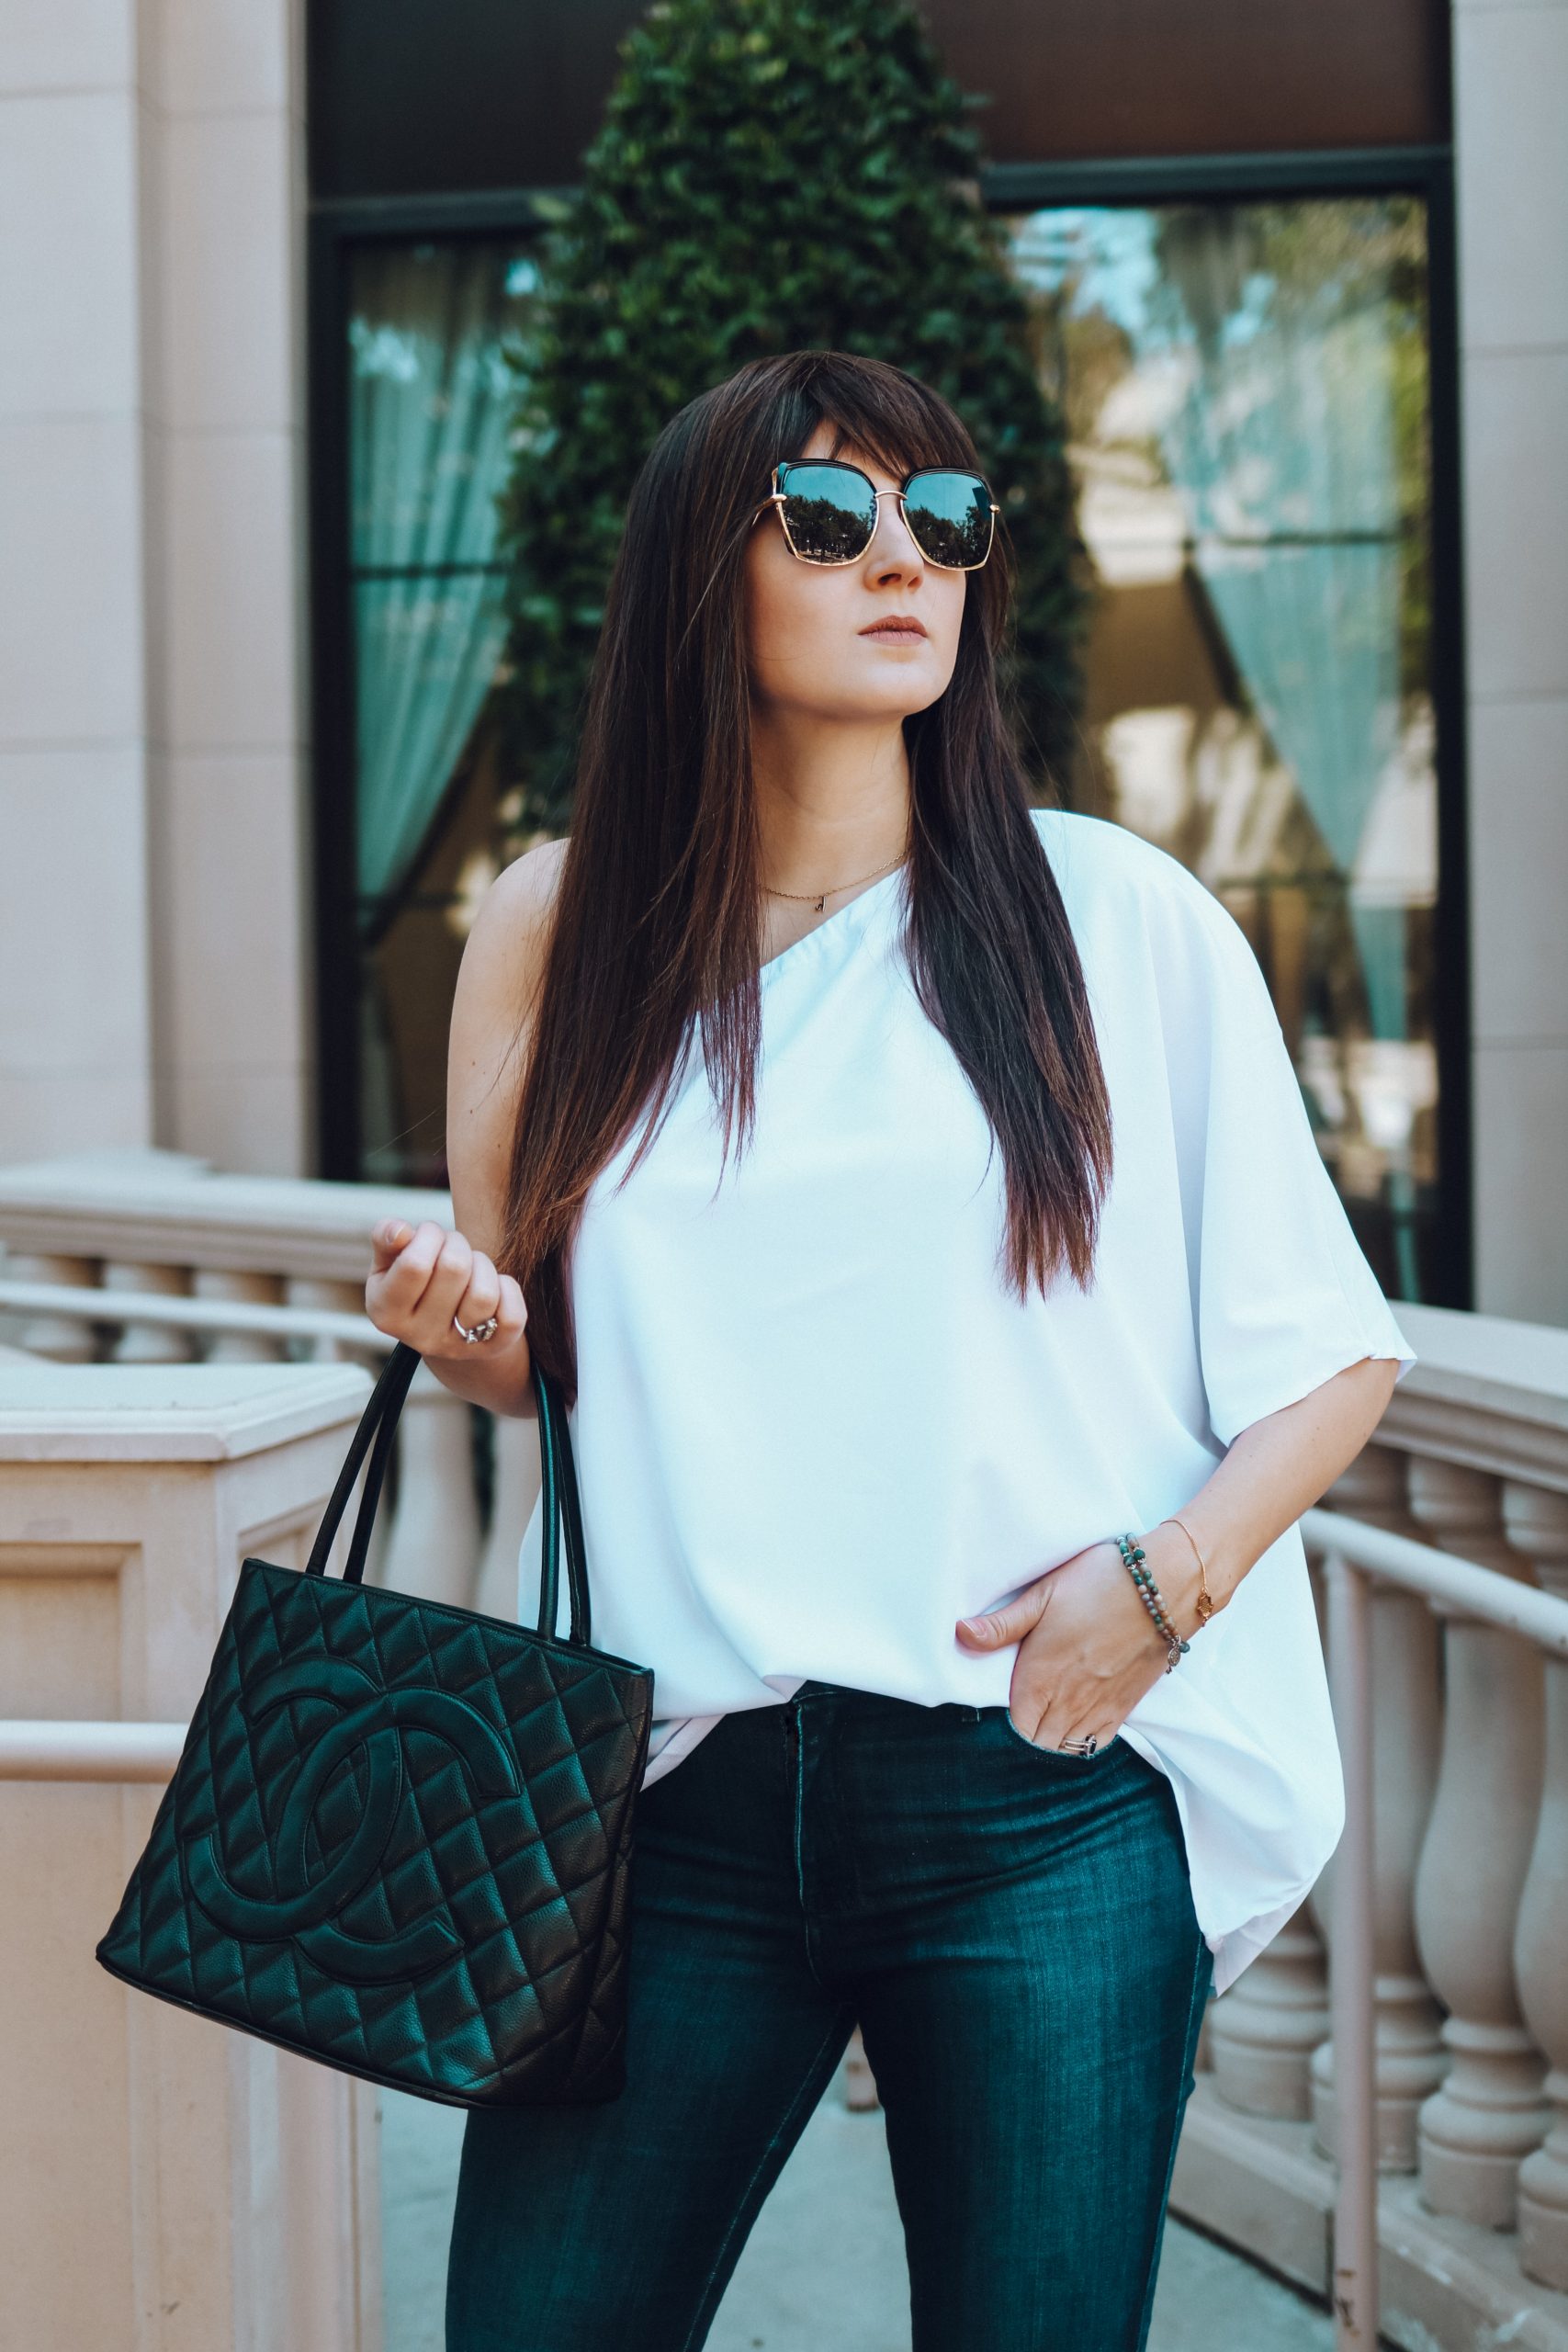
The accessory I am talking about is clip-in bangs! This 30-second installation gives me a completely new look without any regret, maintenance, or commitment. If you have ever cut your own bangs, then you know exactly what I mean. I only want them for a month or two but unfortunately, hair doesn’t grow back that quickly. So if you are curious about what you would look like with bangs before taking the plunge, or are indecisive with your hairstyles as I am, this is truly a game-changer.
This is a sponsored post written by me on behalf of ARC. All opinions are 100% mine.
Anytime I can find a way to save time, or make something more convenient and efficient I am all ears – and yes that includes my beauty routine! So when I found out about ARC has a new whitening pen, I had to give it a try!
A special thank you to NeoCell for sponsoring this post and letting me review their product.
Beauty Regimen
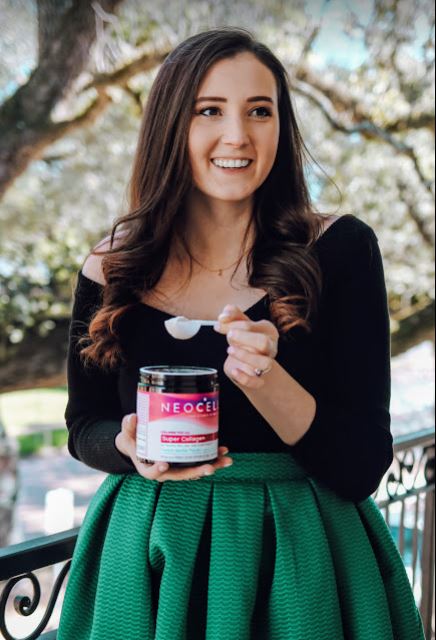
Every year I try to incorporate a new beauty treatment to add to my regimen. This started a few years back with something as simple as taking my makeup off every night, and over the years I have added on things like weekly masks, PM eye cream, teeth whitening, hair treatments, moisturizers, etc. But for some reason taking a vitamin or supplement never dawned on me, so when NeoCell reached out, I knew that was going to be my new beauty regimen addition for 2020.

So, what is NeoCell Super Collagen Powder?
First, NeoCell offers a variety of products, but this particular powder promotes healthy hair, skin, nails and joint support! It’s a mixable blend that can be added to your favorite beverage with just one scoop a day, which is super convenient and means you don’t have to feel like you are taking vitamins, or even change up your routine! You can literally add it to whatever you already drink on the daily. This powder comes in 3 flavors so that blending is so much better depending on the time of day you plan on taking it, and here I will share a few of my favorite ways to incorporate NeoCell Super Collagen into my day.

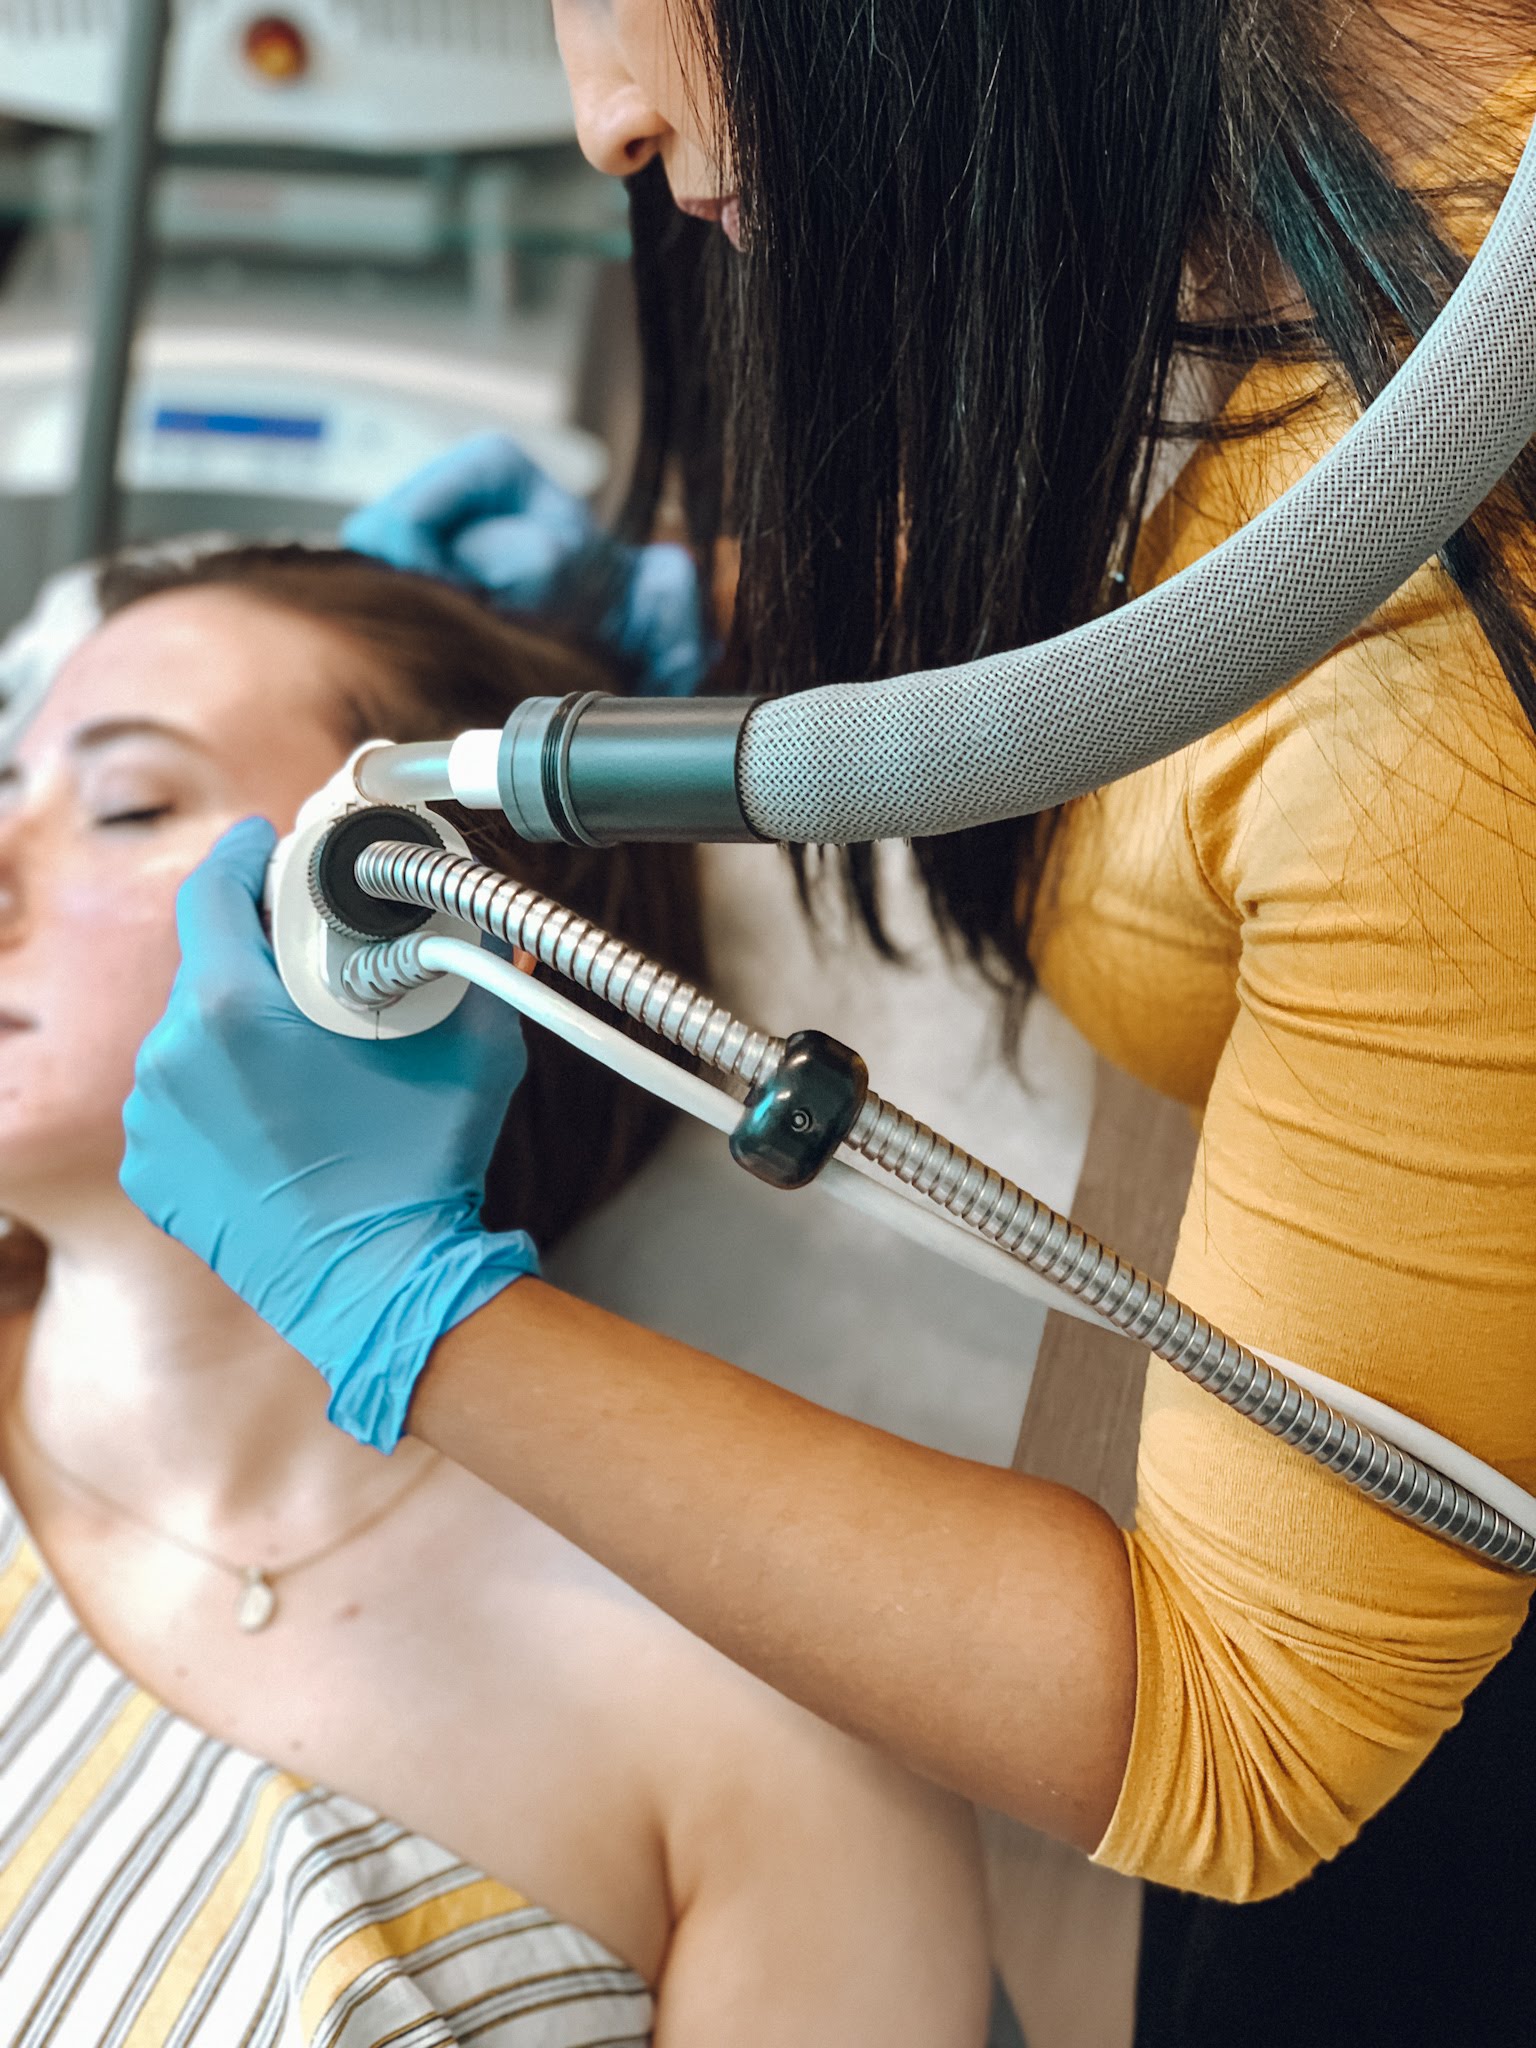
A few weeks ago I had the opportunity to receive a Fraxel laser treatment with Dr. Rednam, in Houston. I wanted to wait to give you my review and experience once my skin had a chance to fully heal, and I could truly share all of the results with you. So let’s get started!
The process first started with a consultation. Here I met with Dr. Rednam one-on-one in her office so that we could discuss my wants, current skin care routine, and provide her the opportunity to give my skin a full assessment before the procedure. – Yes, you need to take off all of your makeup for this, so it’s best to show up fresh faced. I get cyclical breakouts, some of which can be cysts so before I could schedule my Fraxel session she put me on a round of antibiotics to clear up my skin, as well as, started me on Alastin Skin Nectar day and night to prepare my skin for the treatment. *This is the secret, and most important step to a quick turn around after Fraxel! And finally, we discussed what would happen the day of, and what results I could expect.


FAQ
What is the laser like?
There are 2 lasers used to penetrate, and target specific skin needs such as redness, fine lines, discolorations, and scarring. During the treatment, a pass is made over the entire face with one laser; in a sort of crisscross pattern, and then again a second time with the other grade laser.

How long does the treatment take?
The actual treatment itself takes about 20-30 minutes, but you have to numb first for about 40 minutes; so prepare to be there for around 1.5 to 2 hours total.

Treatment Walk Through
When I arrived at her office the day of my treatment I was first escorted to the photo room to take before photos and sign waivers. After, I went to the procedure room and met with the nurse who applied the numbing cream to my face. After that, you get about 40 minutes to sit and relax while your face “falls asleep”. Next, it’s time to actually get started. The numbing agent was wiped off and I was handed a tube of air which contained Pronox. This is a gas to assist with anxiety and pain management during the treatment. Dr. Rednam wants you to be as comfortable as possible, and for you to have a pleasant experience, so she offers wonderful services such as this! I took about 8 breaths through the tube and we got started!


The first passes are over the forehead, and if you are curious, yes you feel it… but it is a tolerable sting. The best way I can describe it is a hot sensation…sort of like poking at a sunburn. Certain areas of the face are more sensitive than others, and at any time you desire a break she stops and you can breathe in more Pronox. Once both passes had been made across my face with each level of laser, she applied the Alastin Skin Nectar and then Oxygenetix foundation which is seriously the BEST thing! It is the lightest foundation which also includes aloe and SPF with full coverage! This foundation, along with the Alastin Skin Nectar was my routine for the next month, and allows you to continue on your day as normal without anyone being able to really tell you had anything done!

After Care, Healing & What to Expect
Because I had been using the Skin Nectar before the procedure my healing time was very quick, as it preps your skin and gets it into the best condition. So when I arrived home after the treatment I was to ice my face. It was still very numb, but I could feel a lot of heat on my face. Later that evening there was quite a bit of swelling but not much discomfort at all; even when the numbing agent wore completely off. The next morning there was quite a bit of swelling still on my face, as well as redness, but nothing the Oxygenetix couldn’t help with! I was even able to do a photo shoot the very next day! *However I will add you need to keep your face out of direct sunlight and wear SPF!
Now over the next few days my face got super itchy and began to peel. I continued with my routine and no one was even able to tell what was happening under the Oxygenetix! The swelling completely subsided by the end of the first week, and most of the peeling had finished. For me, peeling is the worst! It just grosses me out – but that’s just a personal struggle, lol. I’ll add in a close up pic just so you can see how crusty it got, lol!

SO….How’s My Skin Now?
Everyday that passes I notice brightening and softening to my skin, as well as, less redness in my cheeks. I was starting to get fine lines on my forehead and those are pretty much entirely gone and my smile lines have softened. I have a scar on my forehead which is also much lighter now. – And again, this is all just from one treatment. On average Fraxel is done in 3 sessions depending on the desired results, each spaced out over 6 weeks, with results lasting over a year. Again, this is dependent on age, and desired results.

I am very impressed with the results, and also can’t speak any higher about Dr. Rednam, her staff, along the products used. Every step of the way I knew I was in good hands and have seen amazing results from the Fraxel treatment, the Oxygenetix, and the Alastin Skincare Skin Nectar; which is my absolute favorite product now! It even helps to keep my skin clear of breakouts!
I hope you enjoyed this and if you are interested in Fraxel, or any of the products mentioned just click on the words and you can get everything you need!
A special thank you again to Dr. Rednam and her team for providing me the pleasure of experiencing a Fraxel treatment first hand and for treating me with the upmost care!


Dress: Gordman’s | Shoes: Vionic Maris | Purse: Coach Dinky | Makeup: Urban Decay Backtalk

Happy April 1st, and Easter to you all! Today I’m sharing this adorable dress with you all that I found at my local Gordmans which just opened in Rosenberg, Texas! It was only $12.99, believe it or not! The mauve color compliments fair skintones so well and the floral print is lovely. I especially like the off-the-shoulder design of this dress with the flounce layer. This dress is super flattering, and perfect for day, and even night outings. I have paired it with my fave spring wedges from Vionic, and my makeup look is brought to you by Urban Decay! The Backtalk palette is a must-have for spring as it is packed with lovely shadows and blushes in pinks, and nudes to give you a natural, rosy glow! I am also wearing an Urban Decay Vice lipstick in the shade Backtalk.


Makeup colors to create this look:
I am wearing one blush shade and 3 shadows from the Backtalk palette to create this look.
Eyes: Crease – 180 Lid – Curve Corner – 3Sheets
Lips: Urban Decay Vice Lipstick in Backtalk
This is a sponsored conversation written by me on behalf of Shortlist Beauty. The opinions and text are all mine.
This is a sponsored conversation written by me on behalf of Shortlist Beauty. The opinions and text and all mine.
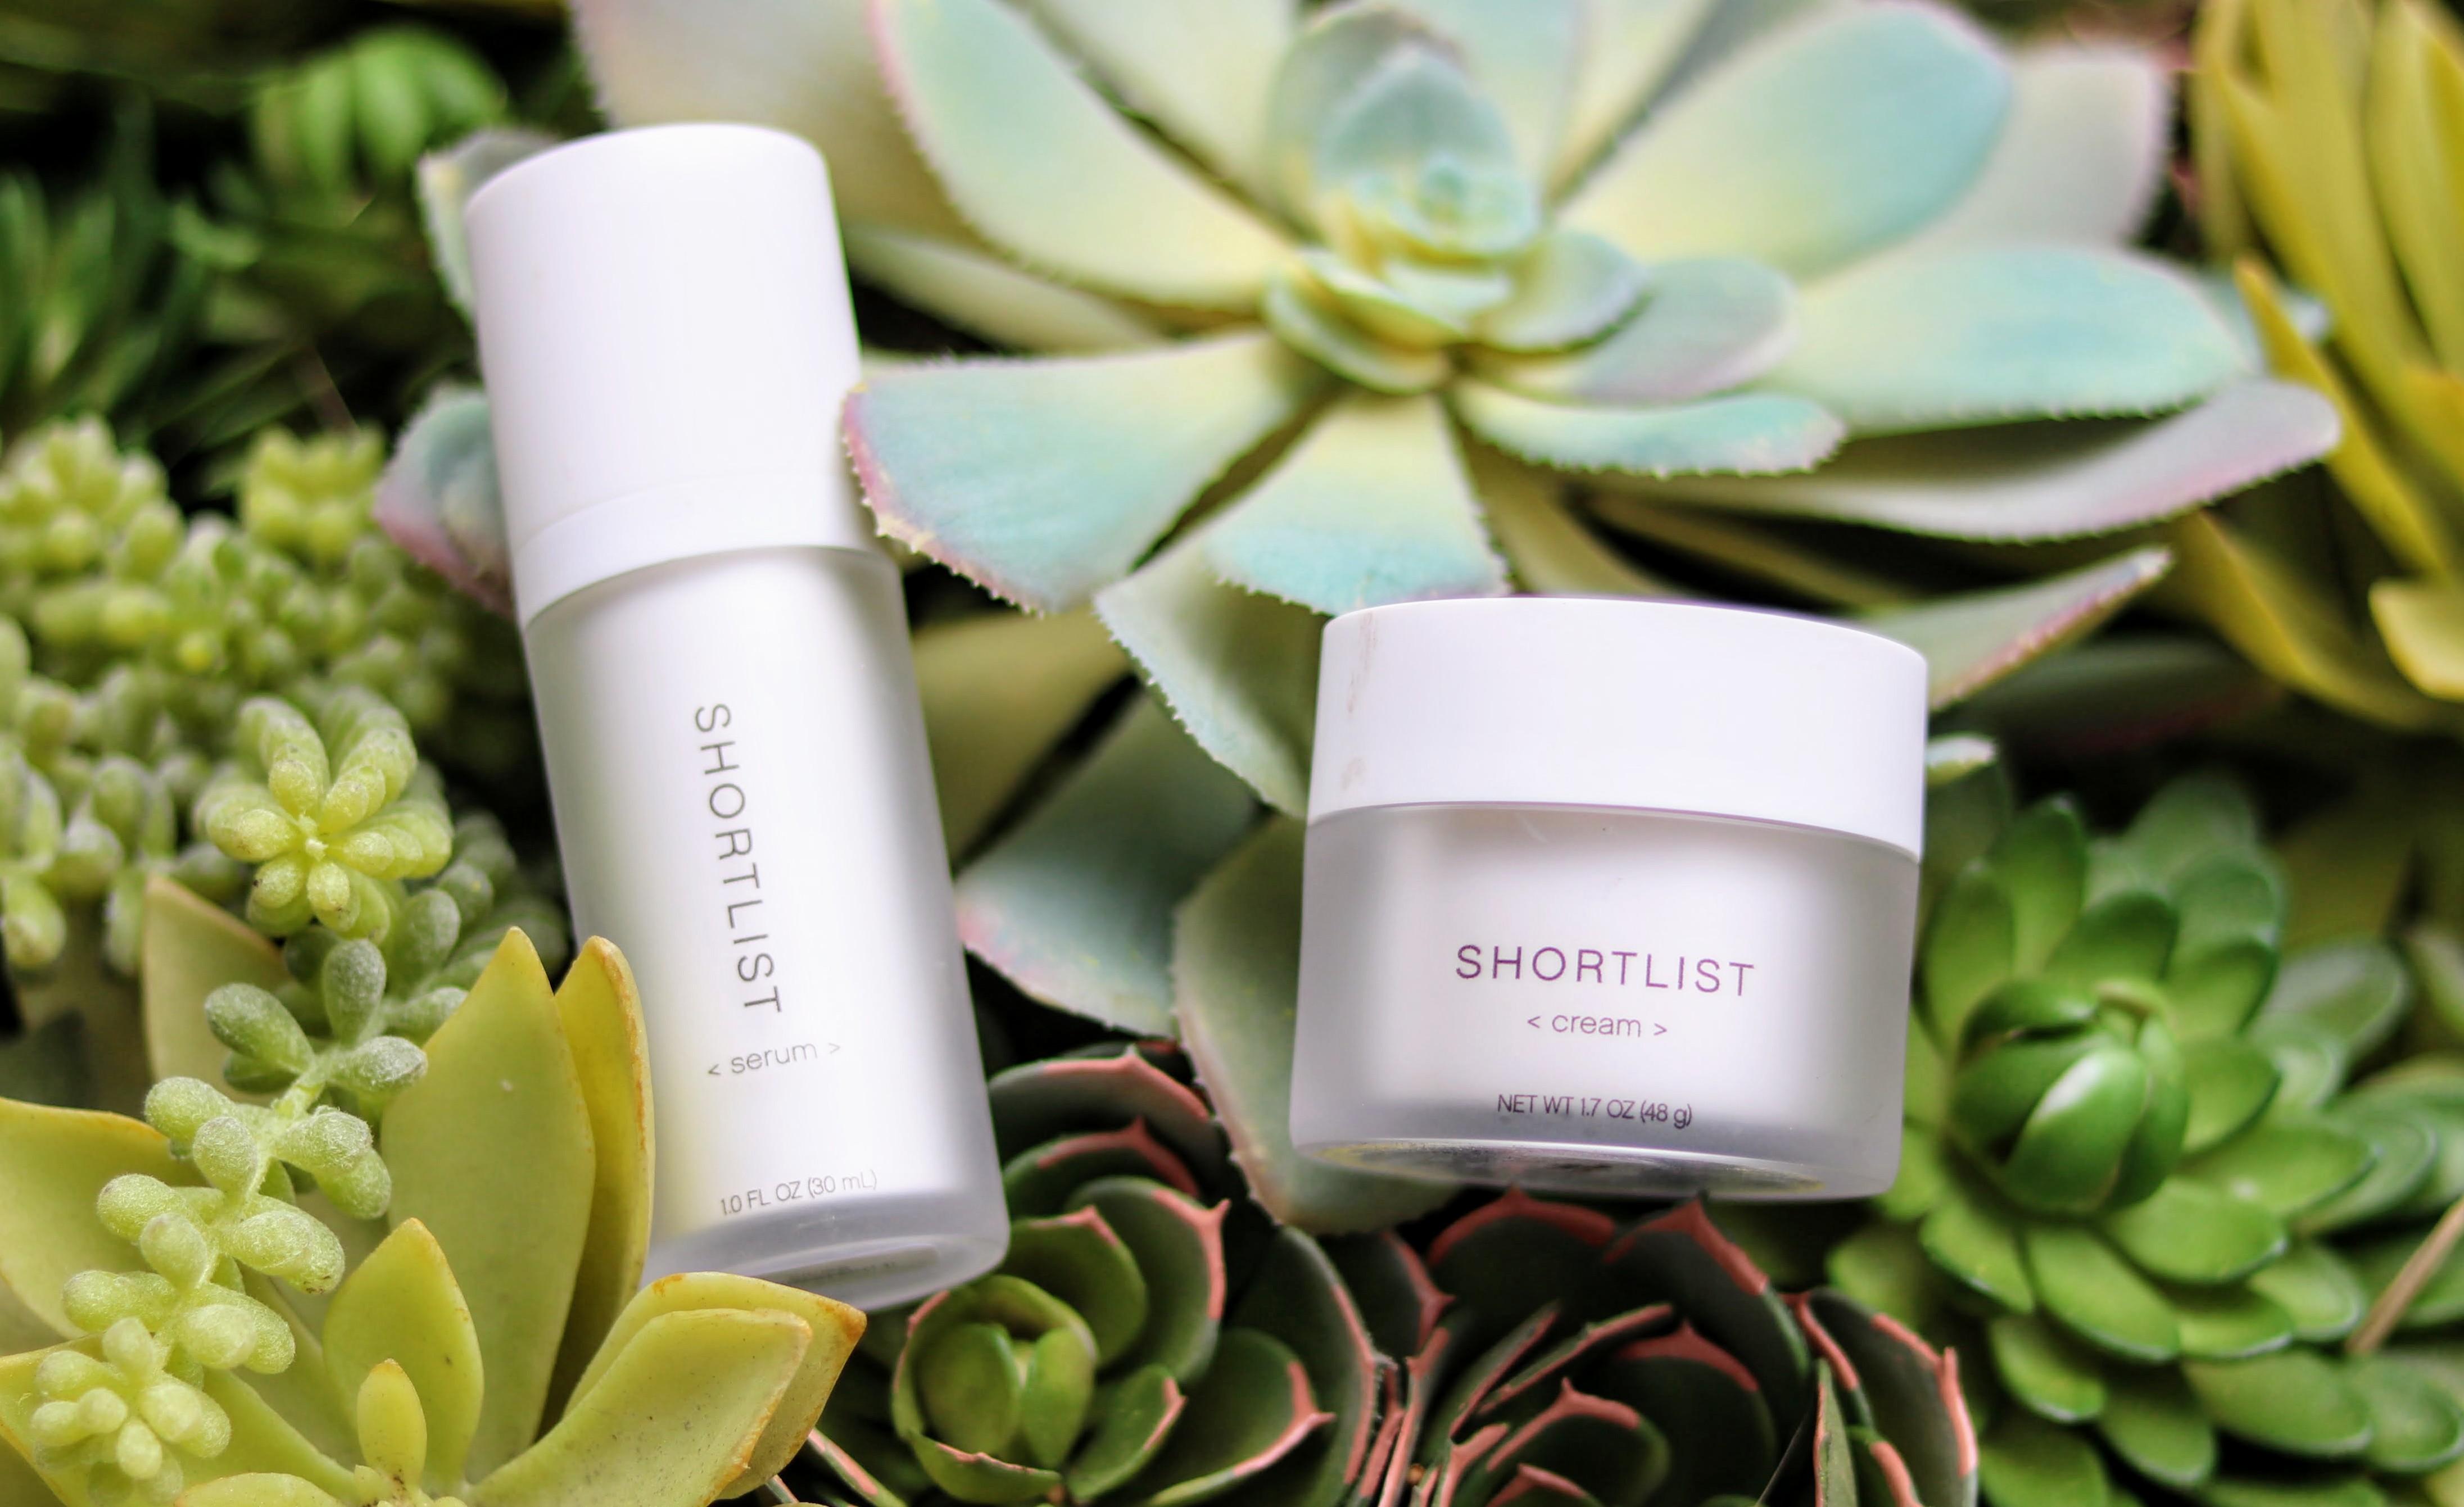
Last year as a “new year’s resolution,” I wanted to take better care of my skin, and since then I have made a conscious effort to do so. With night creams, under eye serums, the occasional facial at the spa, and removal of my makeup before bed, I definitely took a step in the right direction to protecting my skin and preventing premature aging. But with all of the products on the market, it’s hard to know which one is the best for my skin, and more so…what is actually in the products?! Enter Shortlist! This line of skincare is not only great for sensitive skin, which I have, but it is also created using only proven ingredients! That’s right, no extra nonsense, just what you need.

The products I’m going to be chatting about today with you guys are the serum and the cream. These two game changers can be used alone, but work best when used together. They are created to energize your skin cells with moisture; rejuvenate and regenerate, and best of all, fight fine lines and wrinkles! Now, if you are wondering about those ingredients I mentioned earlier, well here’s the list.
Serum – only 11 Ingredients:
- Water
- Cyclopentasiloxane
- Glycerin
- Niacinamide (Vitamin B3)
- Tapioca Starch
- Sodium Hyaluronate
- Dimethicone Crosspolymer
- Phenoxyethanol,
- Acrylates/Vinyl Isodecanoate Crosspolymer
- Caprylhydroxamic Acid
- Sodium Hydroxide
Cream – only 9 Ingredients:
- Water
- Caprylic/Capric Triglyceride
- Glycerin
- Cetearyl Alcohol
- Retinyl Propionate (Vitamin A)
- Ceteraryl Glucoside
- Sodium Polyacrylate Starch
- Phenoxyethanol
- Caprylhydroxamic Acid

My Thoughts
The serum is a light liquid, slight gel formula that glides on the skin and quickly absorbs leaving it feeling calm and quenched. There is barely a scent and I personally would rate this product as unscented. I really love the texture of the serum as it doesn’t leave my skin feeling tacky or sticky, just completely silky smooth which makes it the perfect base product.
Once the serum has been applied, it’s time for the cream. This cream is very thick and has a custard-like texture to it. When applied to the skin it feels super cooling and moisturizing. This product also absorbs relatively quickly and to me, provides a barrier and foundation to my morning and nightly routines.
Shortlist definitely fits the bill of less is more. Less ingredients, but more of what you need and want out of a skincare product.
Thank you so much to Shortlist for creating such a clean, simple product that packs a punch when it comes to quality skin care and results. My skin is so thankful for the revitalized boost!

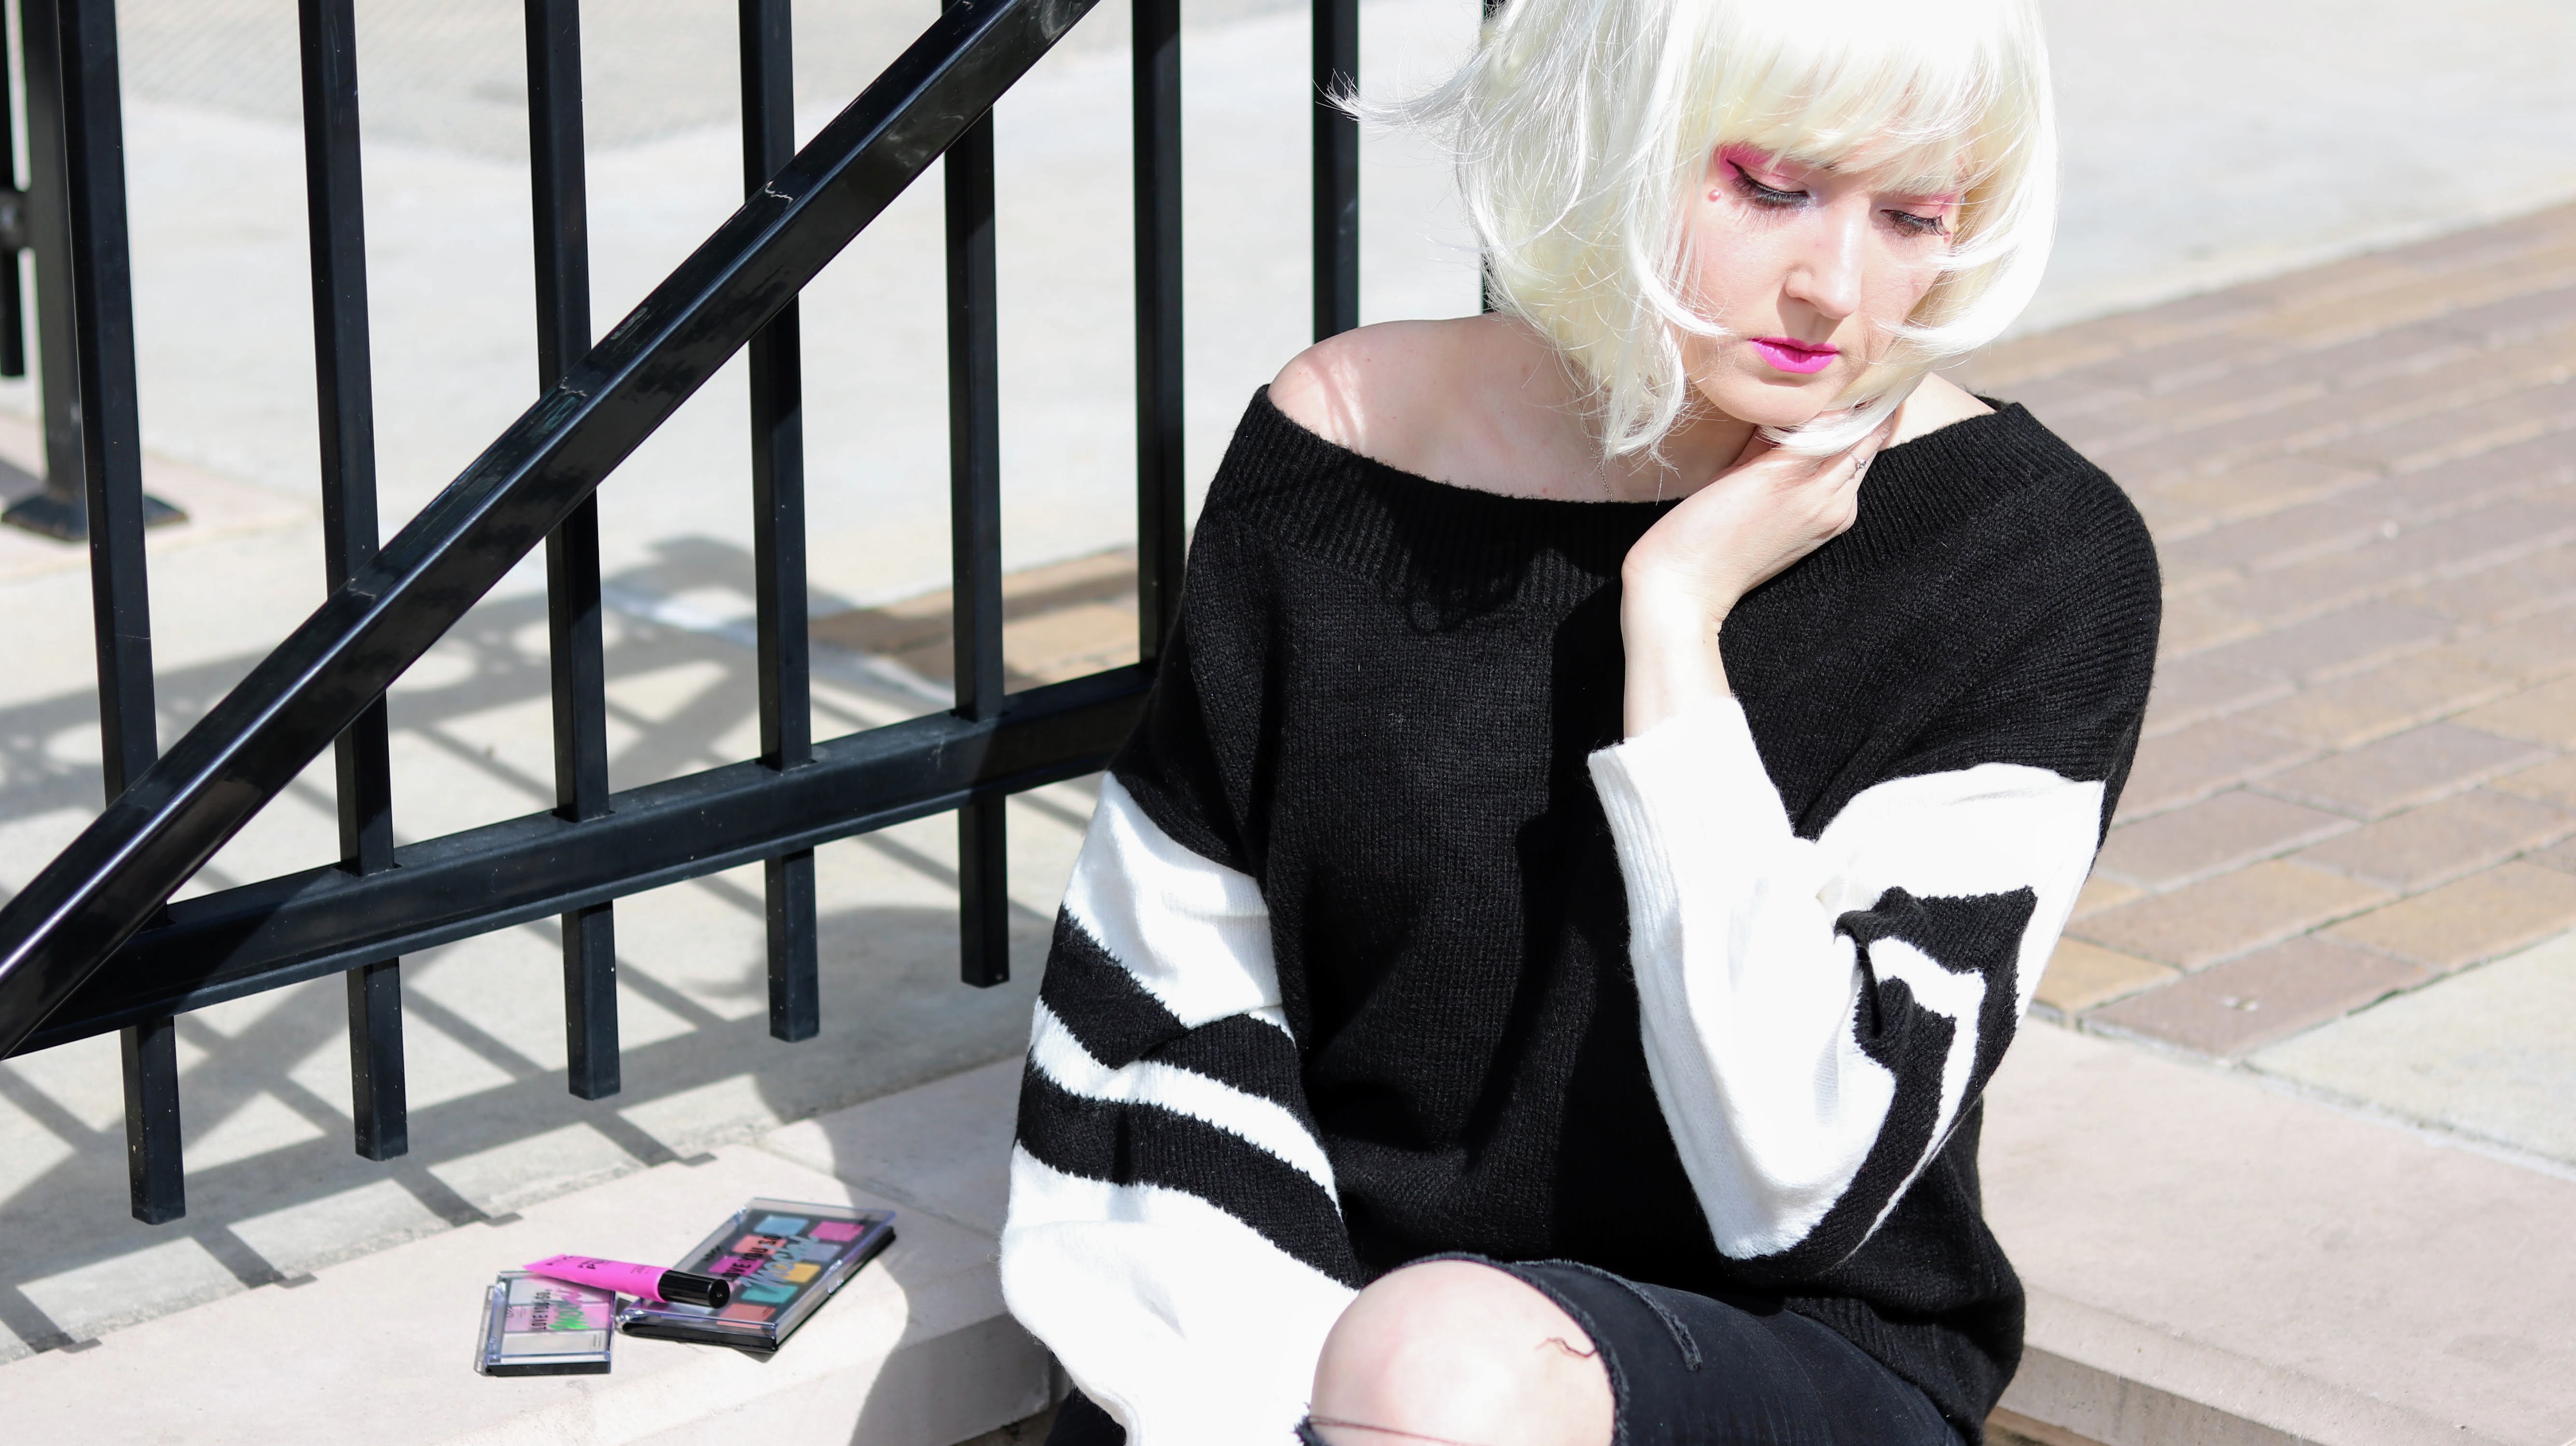
I love getting to play dress up and the perfect way to finish up any amazing look is with a great pop of color! The new NYX Love You So Mochi collection is the perfect combination of pastel, neons and metallics; everything you need for a fierce new look! I want to put it out there that I am in no way a makeup artist of a professional in any way, this is just a look I created and fell in love with using the new NYX collection so I wanted to share it with you all!

NYX is a really great brand because you get professional grade cosmetics at more of a drugstore price point, plus they are cruelty free! The palettes are compact with a generous amount of product. Now, what gets me is the texture! The products are squishy to the touch! Yea, that might sound weird but it’s the coolest feature, with a resemblance to mochi. The colors are highly pigmented and look amazing on. For this look I went with a bright pink and golden yellow.

Below I have listed each shadow number I used from the Electric Pastels palette and highlight from the Arcade Glam palette.
- Tear duct – shade 1
- Center of lid – shade 8
- Crease – Shade 3 blended with shade 10
For lips I am wearing the NYX Lippie in Teenage Dream
To finish off this look I wore a platinum blonde bob, which really made my eyes stand out as well as the bold lip color. And I kept my apparel subdued with a black off the shoulder sweater and black ripped jeans.


Shop these products below to get the look!

For NYFW I had the amazing opportunity to collab with Tease HTX hair! This local company offers remy clip-ins, perfect for enhancing your look in literally seconds!
In the pictures above I have demonstrated what a difference the extensions make! Here I have set this post up as in a quick Q&A style including my thoughts on the extensions, how I would style/wear them, and lots of images so you can see just how natural this hair really looks! Enjoy, and I hope you find this helpful! 🙂
Q&A
So first things first; what length, and color did I get?
I was color matched for #18 Chai Tea Latte, and am wearing the 20″ length clip-ins.
How much do the extensions cost?
There are two length options available so the prices range between $129 and $149 for the classic shades, and $179 for the ombre hair.
How do you style them?
Since these extensions are real hair, you are curl, or straighten the hair as you wish! I like to curl and brush the extensions out before I install them. – This is my preference and I have noticed it gives me the most natural finish. I also style my hair as usual i.e. curl or straighten before installing the extensions. This avoids pulling, extra tension and I feel cuts down on the time it takes to get ready. Once my hair is ready, and the extensions are ready I install them and blend with my fingers.

Do this clips hurt?
Each weft has a lace piece attached to the hair to avoid irritation and provide stability, and each sewn-in clip has teeth as well as a silicone strip to provide a secure grip. The reason I call this out is because these features keep the extensions from moving around and adding tension to the scalp. The clips stay secure creating less pulling and pinching. I will say there is a slight discomfort the first time wearing all 10 wefts, but only because I personally was not used to the added weight. After that I didn’t notice any discomfort.
Are they difficult to install?
No, not at all! The wonderful thing about clip-ins is it is super simple to install them yourself! I have found it best to start at the base of my neck and work my way up. Also when taking off the extensions I start at the top of my head and work my way down. You want to leave the clips open after removal so that they are easy to install for your next use. This also helps to preserve the clips as you are not opening and closing them in excess.

Pros:
My favorite pro is that the hair is removable. I personally have very thick hair. It takes me a long time to wash, blow dry and style my hair even when at the length it currently is! When my hair was naturally long it took me forever to complete these tasks so my hair ended up in a bun a lot. Since this hair is removable I have the ability to take it off when I get home, it is ready to go all of the time as it does not have to be washed and re-styled upon every use, and you have the option of such versatility! Also you instantly can have long hair! No need to wait years to grow it out! Also, if you bleach your hair, as I do, it is super difficult to grow it out as your ends are always needing to be trimmed or are breaking off. Versus leaving those ratty ends attached to keep from trimming that precious length off, extensions give you the flexibility to keep your hair healthy and trimmed while looking long and luxurious!
Cons:
The con is the same as the pro actually. Since the hair is removable you have to take it off and make adjustments to it often. And what I mean by often is daily. So lets say you just install it for an event, chances are you will not need to make an adjustment, but if you were to wear it for an entire day, yes, at some point you many need to fix weft of two. And that is seriously the only “con” I have. There really isn’t anything negative I can say! 🙂

Overall thoughts
I absolutely LOVE these extensions and would totally wear them every day if I could! They create an instant change to my look and at such an affordable price! Definitely check out Tease HTX if you are thinking about changing your look! Its such a simple way to give yourself a luxe touch without the hefty salon price tag.
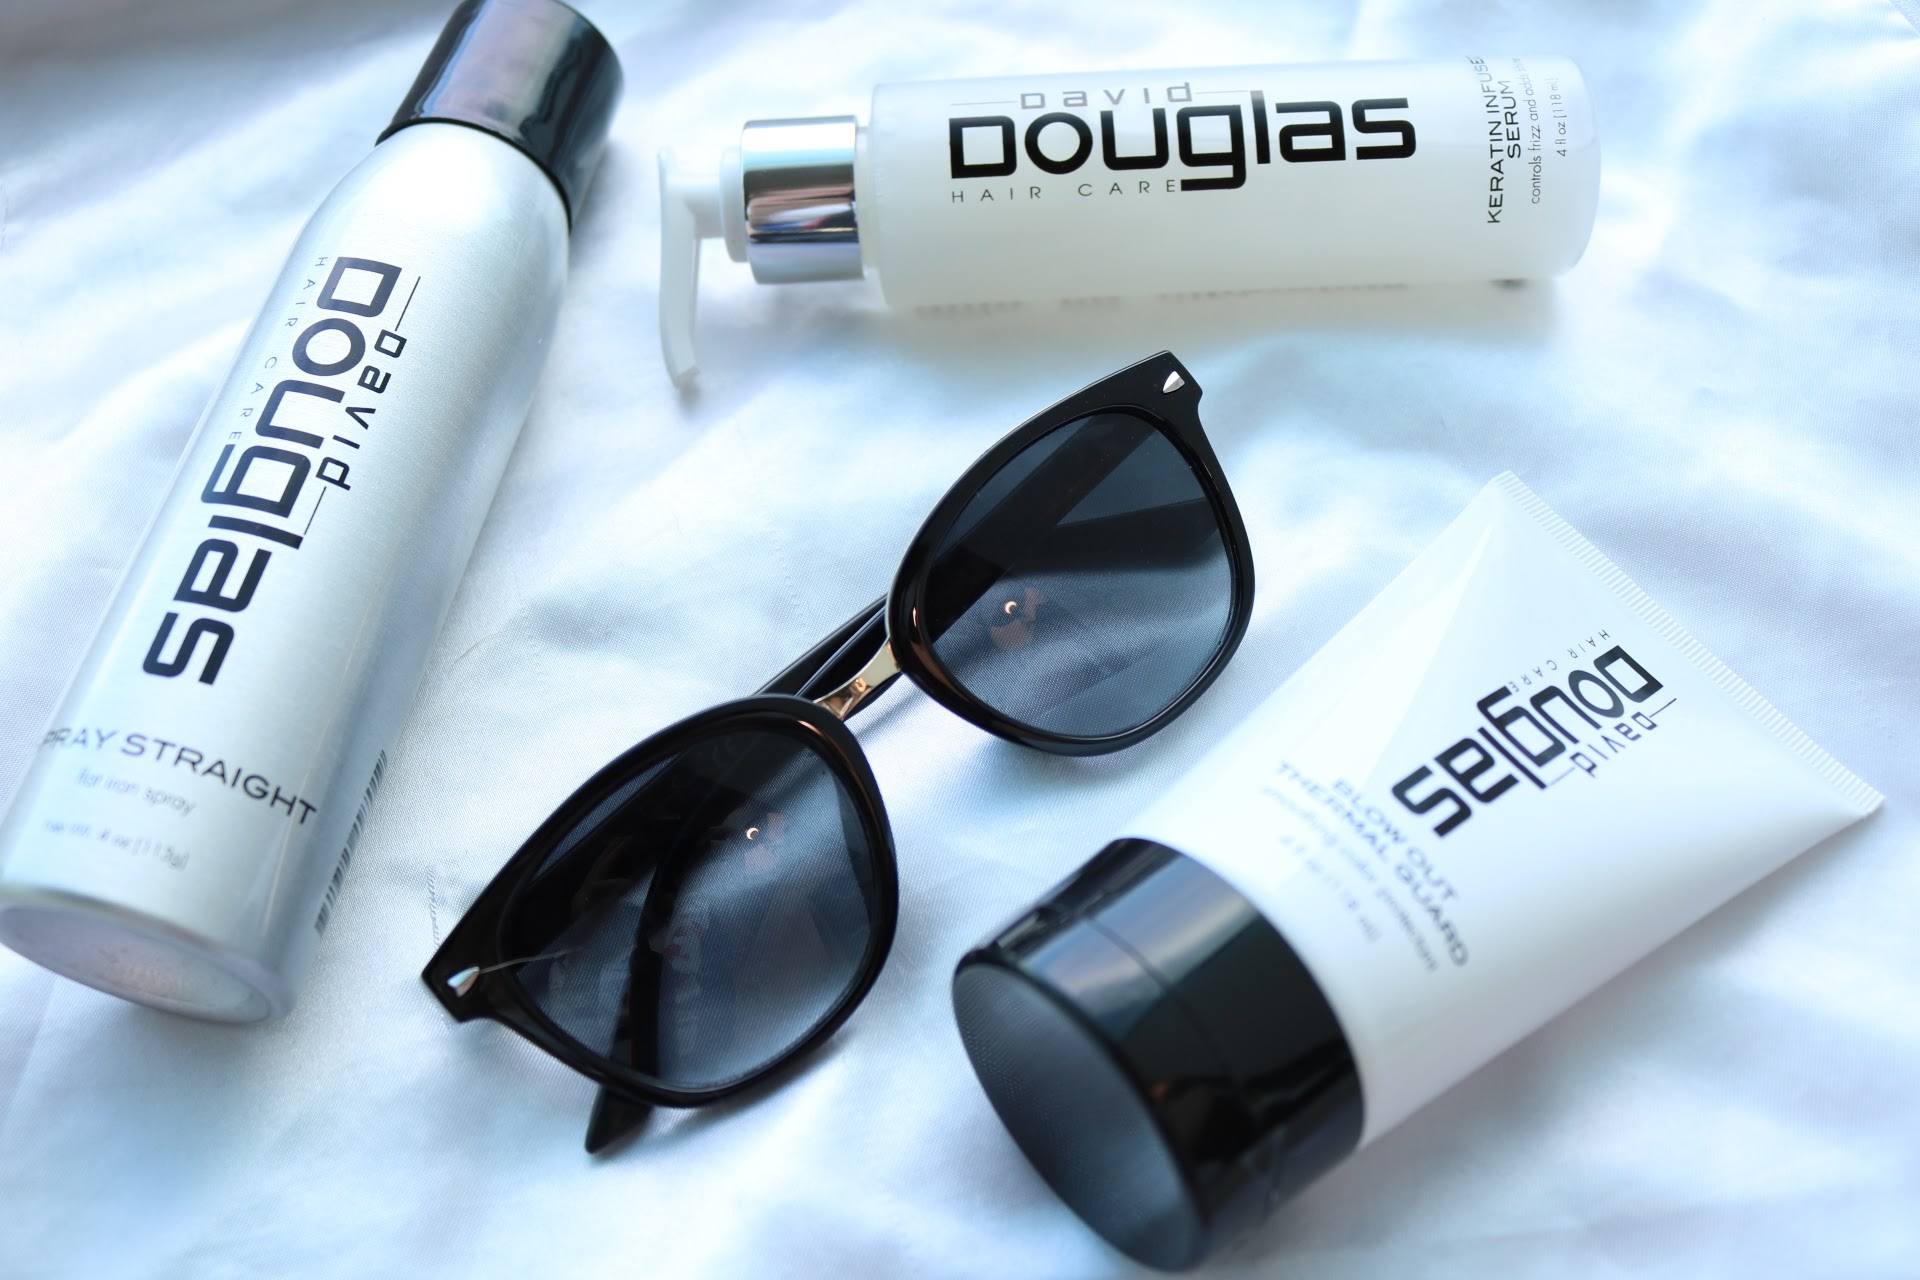
So I really want to start off this post with some confessions. Over the past few years I have not taken very good care of my hair. With color, bleach, stripping of color, color, bleach, and repeat. My endless desire to change my hair has really brought damage to it over the years. This year I have really focused on ways to pamper my hair and give it some much needed TLC, so when David Douglas Beauty reached out, I of course welcomed the opportunity to try out their product line!
David Douglas Beauty is a professional hair care company founded in 2002, offering products made with high quality ingredients and best of all, never tests on animals. So lets get started with my review!

The products I have tested on my hair include:
- Violet Toning Shampoo
- Violet Toning Sealer
- Keratin Infused Shampoo
- Keratin Infused Conditioner
- Spray Straight
- Keratin Infused Serum
Packaging website and ordering
The packaging is sleek and minimalist, perfect in my opinion for hair products, that way the focus is on what is inside! The website is beautiful, and is neatly categorized by Product Type, Hair Treatment, and Hair Concerns. This makes it super easy to find exactly what you are looking for. As for shipment, my order came quickly and everything arrived safely. Each item was securely sealed with no leaks or damages.

Violet Products
The violet shampoo is a deep shade of purple and has similar texture to other violet shampoos I have tried. The benefits of this particular brand are the quality of ingredients and, for me the fact the I don’t have to sacrifice feel for color. Normally when I use color toning shampoos my hair is left feeling brittle and dry on the ends. That is simply not the case with this violet shampoo. My hair felt clean and workable. There is no heavy leftover residue, just soft clean hair that looks brighter and a cooler shade of blonde even after one use!
For the sealer, the shade is a pastel purple and has what appear to be sparkles in the formula. You apply to towel dried hair, let it sit for a few minutes then rinse with cool water. I really like this product! It sort of feels like a conditioner but not as heavy and doesn’t leave hair weighed down. You have the option to leave it in longer based on the shade you are trying to achieve, which is really cool, and again, I like this product because it is not over drying of harsh. – best of all it does not stain my fingers!
Over the next few uses of the violet products, I have noticed my hair has felt softer as well as brighter. When you have bleached hair, it can often feel very dry especially if you wash it too often. Since using these two products I have noticed that I can extend the life of my hair between washes, as it does not produce as much oil at my scalp, so that I can go 2.5 days between washes versus everyday. This process is much healthier on hair so I am very pleased with this product and its payoff so far.
I have been using these two products as my regular routine to keep my hair shiny and its best shade of blonde.

My New Straight Hair Regimen
Now these products are the real game changer for me. I have always struggled to manage straight hair. With the Houston humidity, and the fact that I have curly/wavy hair, even with the best straightener I end up with a frizzy mess every time! With the Keratin infused products, and spray straight I am able to achieve my straightest hair that lasts!
Keratin Infused Shampoo and Conditioner
On days when I want to straighten my hair I have been using the keratin products. The formula is thick and provides a rich lather. My hair is left feeling clean and ready for styling.

Styling Products
Following the wash, I towel dry my hair and apply the Keratin Infused Serum then blow dry. The serum is by far my favorite smelling product, seriously it smells amazing! It is not too oily or sticky and doesn’t leave my hair greasy. To finish off, I apply the spray straight. This is seriously the miracle product when it comes to keeping my hair straight. It does slightly change the texture of my hair…meaning you can tell there is product in it, but it looks natural and reduces frizziness which keeps my hair tamed in the humidity. Basically I would like to know where this product has been all my life?! 😀

To Sum It Up
My overall thoughts on the David Douglas brand is the products are very high quality and perform as described. They definitely surpassed my expectations, and I would recommend them to anyone looking to improve their blonde, combat frizziness, or just want to enhance the appearance of their hair! David Douglas the go-to for it all!
Here is a great example of my results! The left image is what happens to my hair is the humidity, before I had David Douglas products, the right image is how my hair withstands the heat and humidity with David Douglas products!


Now that I have had the A Perfect World line for over a month, and have been using a few of the products in my daily routine, I wanted to provide you all with a quick review of the products I love and what results I have actually seen from using them on a daily basis!
So the 4 products I will be reviewing include:
Origins A Perfect World Age Defense Eye Cream with SPF 20
Origins A Perfect World Age Defense Skin Guardian
Origins A Perfect World Age Defense Treatment Lotion with White Tea
Origins A Perfect World Antioxidant Cleanser with White Tea
I really wanted to share my opinion with you after continuous use of the products, and specifically the changes I have seen in my skin over the past month.
So lets start with the Treatment Lotion with White Tea. I have been using this product in the morning when I wake up and at night before bed. The scent is consistent with the rest of the line, and since it is alcohol-free it doesn’t irritate or burn the skin, eye area, or nose. I apply this product to a cotton ball and glide it across my face. The product is cool and tightens my pores effortlessly. It leaves skin feeling clean with a slight tightening sensation.

Once the Treatment Lotion has dried, I apply the Skin Guardian. This product is by far my favorite from the line. The texture is like a gel, and leaves my skin feeling like silk! I use 1.5 pumps and disperse the product over my face evenly. I can definitely tell a difference in my skin overnight from this product. My skin is softer and smoother. In the mornings it makes makeup application so simple and gives me a “primed” canvas to smoothly apply my liquid foundation.

At night when I shower, I use the Antioxidant Cleanser with White Tea. This creamy cleanser removes all dirt and make up from my face, leaving my skin feeling squeaky clean, yet not over dried. I am prone to breakouts and redness but I have noticed since I have started using this product, and this line in general, my skin has balanced out and I create less oil on my forehead, my redness has subsided, and uneven texture and breakouts are minimal – if even at all! If you are thinking of trying out this line, I would recommend purchasing this product first.
I have been finding the eye cream most valuable on days I decide not to wear makeup. It lightens the area under my eyes a slight bit while hydrating. Plus, the added bonus of the sunscreen means I am protected while letting my skin breathe.
My regimen:
AM: Treatment Lotion with White Tea – Skin Guardian – Eye cream
PM: Antioxidant Cleanser with White Tea – Treatment Lotion with White Tea – Skin Guardian
If you are debating on trying out the collection, I highly recommend it for breakout prone skin, prone to t-zone oiliness, redness, and even if you just want something with anti-aging properties. This line has truly worked wonders on my skin, and I love that I can feel good about the product that I am using because it is from Origins!
I hope you have found this review helpful, and will give this line a try!